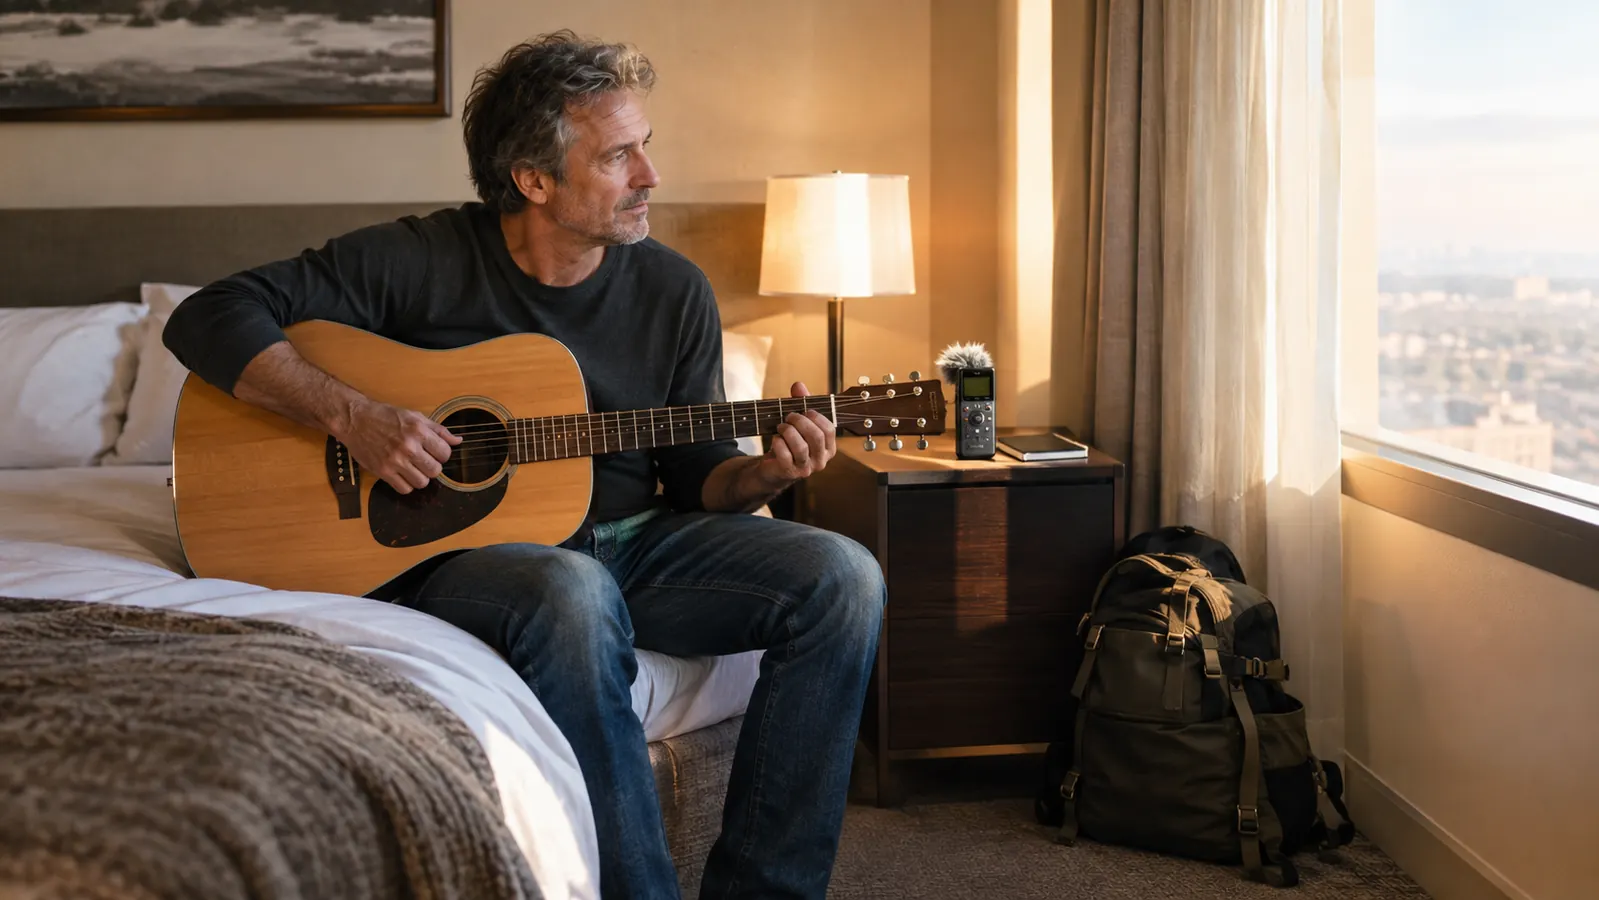
I spent thirty years behind a live-sound console, so I know what bad recordings sound like. The irony is that the worst recordings I ever made were of my own playing, because I kept trying to capture it with a phone in a noisy room. When I retired and started traveling more, I wanted a way to record ideas on the road without turning it into a project. The Zoom H1essential is the recorder I keep in my carry-on now, and this is the exact routine I use to get a usable take in a hotel room, a rental car, or a beach campsite.
This guide is not about studio technique. It is about what works when you have one backpack, a few minutes before dinner, and a song idea that will evaporate if you do not catch it. I have tested this routine on flights to Oahu, on road trips up the California coast in my 2016 Toyota 4Runner, and in more hotel rooms than I can count. Every step below is something I actually do, not something I read about.
Pack a recorder that fits in the front pocket of your carry-on
The Zoom H1essential is small enough to disappear in a backpack, runs for hours on two AA batteries, and records clean audio without a phone in the way. It is the recorder I reach for every time I travel.
Amazon Check Today's Price on Amazon →Step 1: Set the levels before you play a note
The most common mistake I hear in amateur recordings is clipping. The meter is pegged in the red, the audio distorts, and no amount of editing can fix it. On the Zoom H1essential, the level dial is right on the front, which is exactly where it should be. Set it low enough that your loudest strumming peaks around minus 12 dB, not at zero. That headroom is what keeps a hard strum from turning into digital garbage.
In a hotel room, I start with the dial at about 70 percent and do a quick test strum. If the meter touches the red, I back it off. If it barely moves, I bring it up. This takes thirty seconds and saves you from discovering the problem three days later when you listen on headphones. On a trip to Oahu last March, I recorded a verse idea in a Waikiki hotel room and did not check the level first. The take peaked in the red on every strum, and by the time I listened back on the plane, the whole thing was unusable. I have not skipped the test strum since.
One thing I have learned the hard way: do not trust the built-in speaker for level checking. It is fine for a rough idea, but it flatters bad audio. Use the headphone jack and listen for real. I keep a pair of earbuds in the same pocket as the recorder, and they take up less space than a pack of gum.
Step 2: Find the quietest corner of the room
Hotel rooms are acoustic nightmares. Air conditioning units hum, mini fridges click on, and the hallway is a parade of rolling suitcases. The Zoom H1essential has a low-cut filter that helps, but the best tool you have is your feet. Walk around the room with the recorder in your hand and your ears open. The quietest spot is usually the bathroom, oddly enough, because the tile and towels absorb less and the door blocks the hallway noise.
I have recorded some of my best road demos sitting on the bathroom floor with a towel rolled against the door. It looks ridiculous, but it works. If the bathroom is too small for a guitar, the next best spot is the bed, with the recorder on a pillow a few feet away. The pillow absorbs reflections and keeps the sound from bouncing off the nightstand. In a rental cabin near Big Sur last fall, the only quiet spot was a walk-in closet, so I sat on the floor with the door cracked and the recorder on a folded sweater. The take came out cleaner than anything I recorded in the living room.
The point is to think about what the microphone hears, not what your ears hear. Your brain filters out the hum of the air conditioner. The microphone does not. A minute of moving around before you hit record saves you an hour of frustration later.
Step 3: Use the built-in mics, not your phone
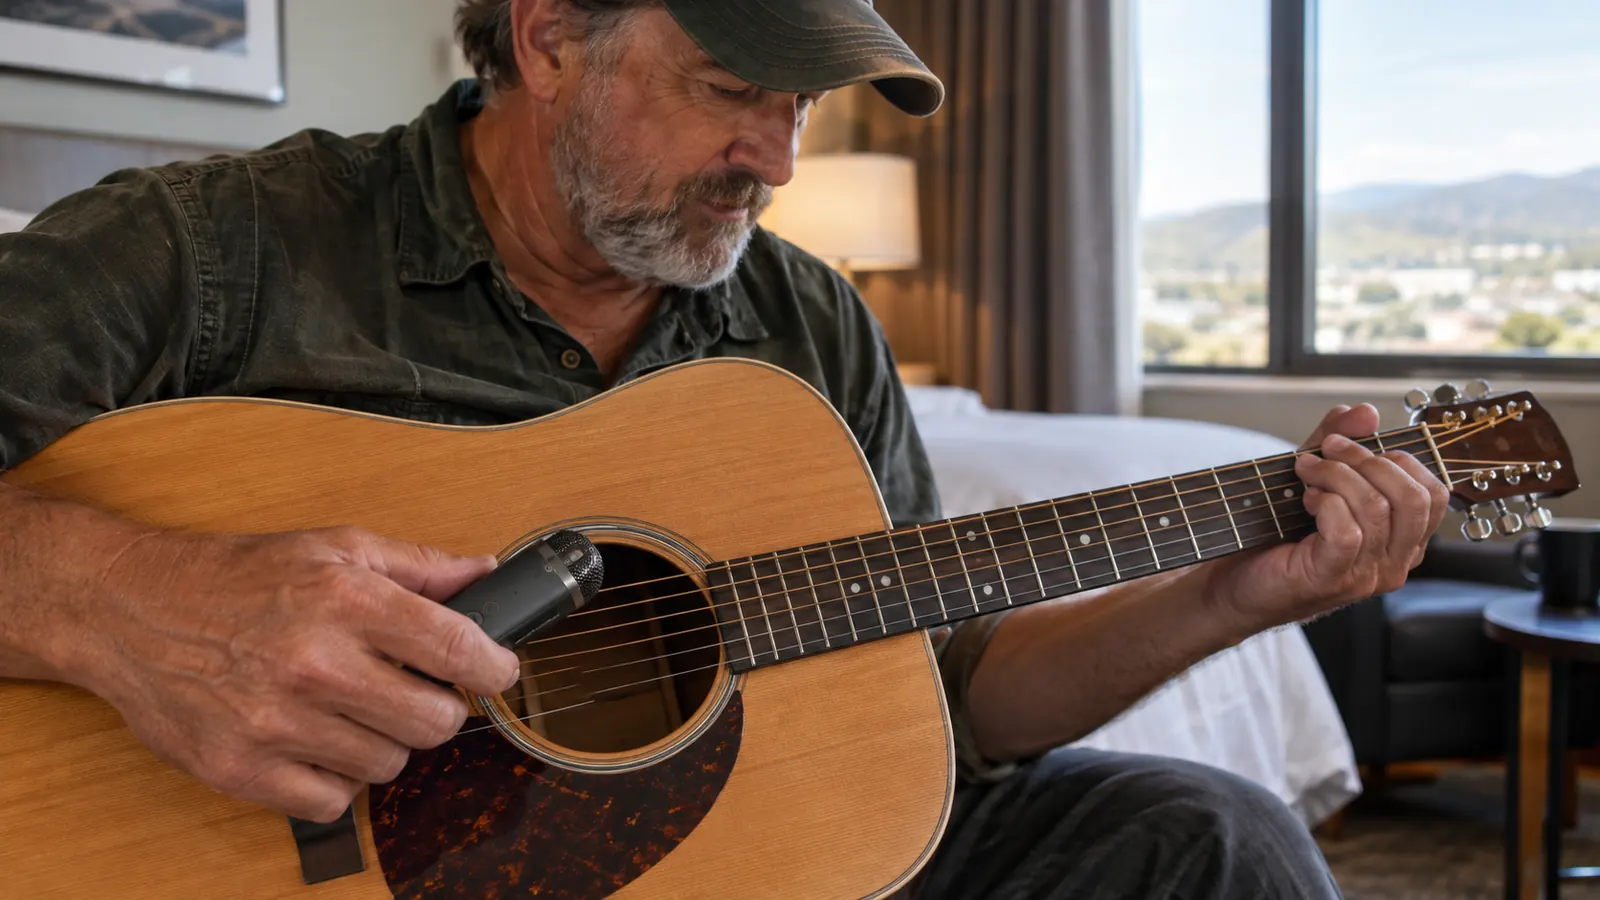
The Zoom H1essential has a pair of small condenser microphones built into the top, arranged in an X/Y pattern. That is not marketing talk. It means the two mics are angled toward each other, which gives you a solid stereo image without any extra gear. For a solo acoustic player, that is all you need. No external mics, no cables, no preamp. Just point the top of the recorder at the guitar and press record.
I have compared this directly against my phone in the same hotel room, same song, same position. The phone recording sounds like a phone recording. The Zoom recording sounds like a person playing a guitar in a room. The difference is not subtle, and it is the reason I stopped reaching for my phone entirely. I did the same test on a park bench in San Luis Obispo with a ukulele, and the gap was even wider, because the phone compressed the quiet notes into mush while the Zoom kept the pick attack intact.
If you are recording a ukulele, the same rule applies. The instrument is quieter, so you will want the recorder closer, about a foot away instead of two. The built-in mics handle it fine. Just remember to reset the level after you switch instruments, because a ukulele will not push the meter the way a guitar will.
Step 4: Record a test take and listen back with headphones
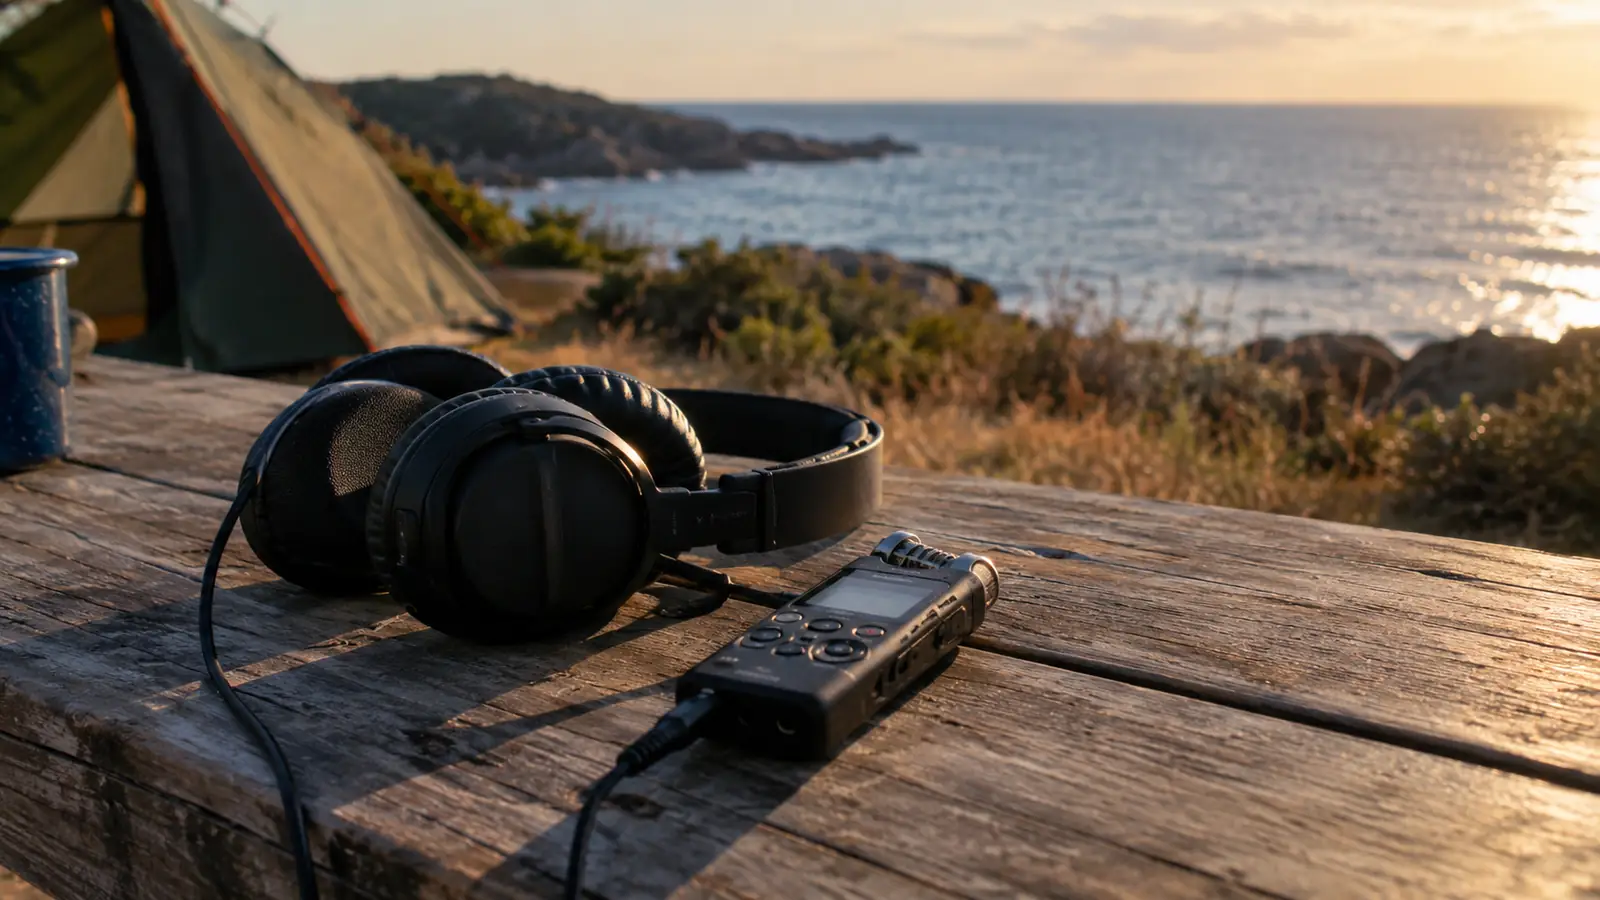
Before you record the actual idea, do a thirty-second test take. Play the loudest part of the song, stop, and listen back on headphones. This is the step almost everyone skips, and it is the step that separates a keeper from a regret. If the audio is distorted, fix the level. If the room hum is too loud, move. If the guitar sounds thin, move the recorder closer to the soundhole.
The Zoom H1essential makes this easy because the playback controls are right on the device. You do not need to connect it to a computer or open an app. Press stop, press play, listen, adjust, and record again. The whole loop takes less than a minute, and it is the difference between a demo you can actually use and a file you will delete in shame. On a road trip down Highway 1 last spring, I pulled over at a turnout near Ragged Point, ran the test take once, moved the recorder six inches closer to the soundhole, and got a keeper on the second pass.
I also use this step to check the battery. The H1essential runs on two AA batteries, and it lasts a long time, but batteries do not last forever. If the low-battery indicator is blinking, swap them before you record the real take. Nothing kills a song idea faster than the recorder dying at the good part.
Step 5: Keep the recording simple and back it up
You do not need to edit anything on the road. The Zoom H1essential records to a microSD card, and the files are standard WAV files. That means you can pull the card out, plug it into a laptop, and have the file in your DAW in seconds. No proprietary format, no conversion, no hassle.
My routine is simple: record the idea, leave the file on the card, and back it up when I get home. I keep a spare microSD card in the same pocket as the recorder, because cards are cheap and lost recordings are not. If I am on a longer trip, I back up to my phone using a small card reader that fits in the same pouch. On a two-week stay on Oahu in January, I backed up every evening before dinner, so even when a card filled up mid-trip, I did not lose a single take.
The other thing I do is name the file right away. The H1essential lets you rename files on the device, and it takes ten seconds. A file called "2025-03-14 hotel idea" is worth a hundred files called "REC0001." Future you will be grateful.
What Else Helps
A few small things make road recording dramatically easier. A pair of closed-back headphones blocks out the hotel air conditioner better than earbuds. A small tripod or a flexible clamp mount lets you position the recorder exactly where you want it instead of balancing it on a pillow. And a spare set of AA batteries weighs almost nothing, so there is no reason not to carry them.
I also recommend a simple windscreen. The Zoom H1essential comes with a foam windscreen in the box, and it is worth using even indoors. It tames the pops and breath noises that show up when you sing or play close to the mics. It takes two seconds to slip on and it does not affect the sound in any way that matters.
If you are recording in a rental car, the same rules apply. Park somewhere quiet, put the recorder on the passenger seat or the dashboard, and use the low-cut filter. The car interior is actually a decent recording space because the seats absorb a lot of reflection. I have recorded more than one song idea in a parked 4Runner with the engine off.
The difference between a phone recording and the Zoom H1essential is not subtle. One sounds like a person playing a guitar in a room. The other sounds like a phone.
What I'd Tell You If We Were Sitting at My Kitchen Table
If you are on the fence about whether a portable recorder is worth packing, here is my honest answer. If you only record ideas once in a while and you are happy with the sound of your phone, save your money. But if you have ever listened back to a phone recording of a song idea and cringed, the Zoom H1essential is worth every ounce of the tiny space it takes in your bag.
I have been using the Zoom H1essential for about a year now, and it has become the one piece of gear I never leave behind. It is not the fanciest recorder on the market, and it does not need to be. It does one thing, it does it well, and it fits in the front pocket of my carry-on. That is the whole job.
Catch the idea before it gets away
The Zoom H1essential is the recorder I trust on every trip. Small enough to pack, simple enough to use in a hotel bathroom, and good enough to actually enjoy listening back to.
Amazon Check Today's Price on Amazon →